
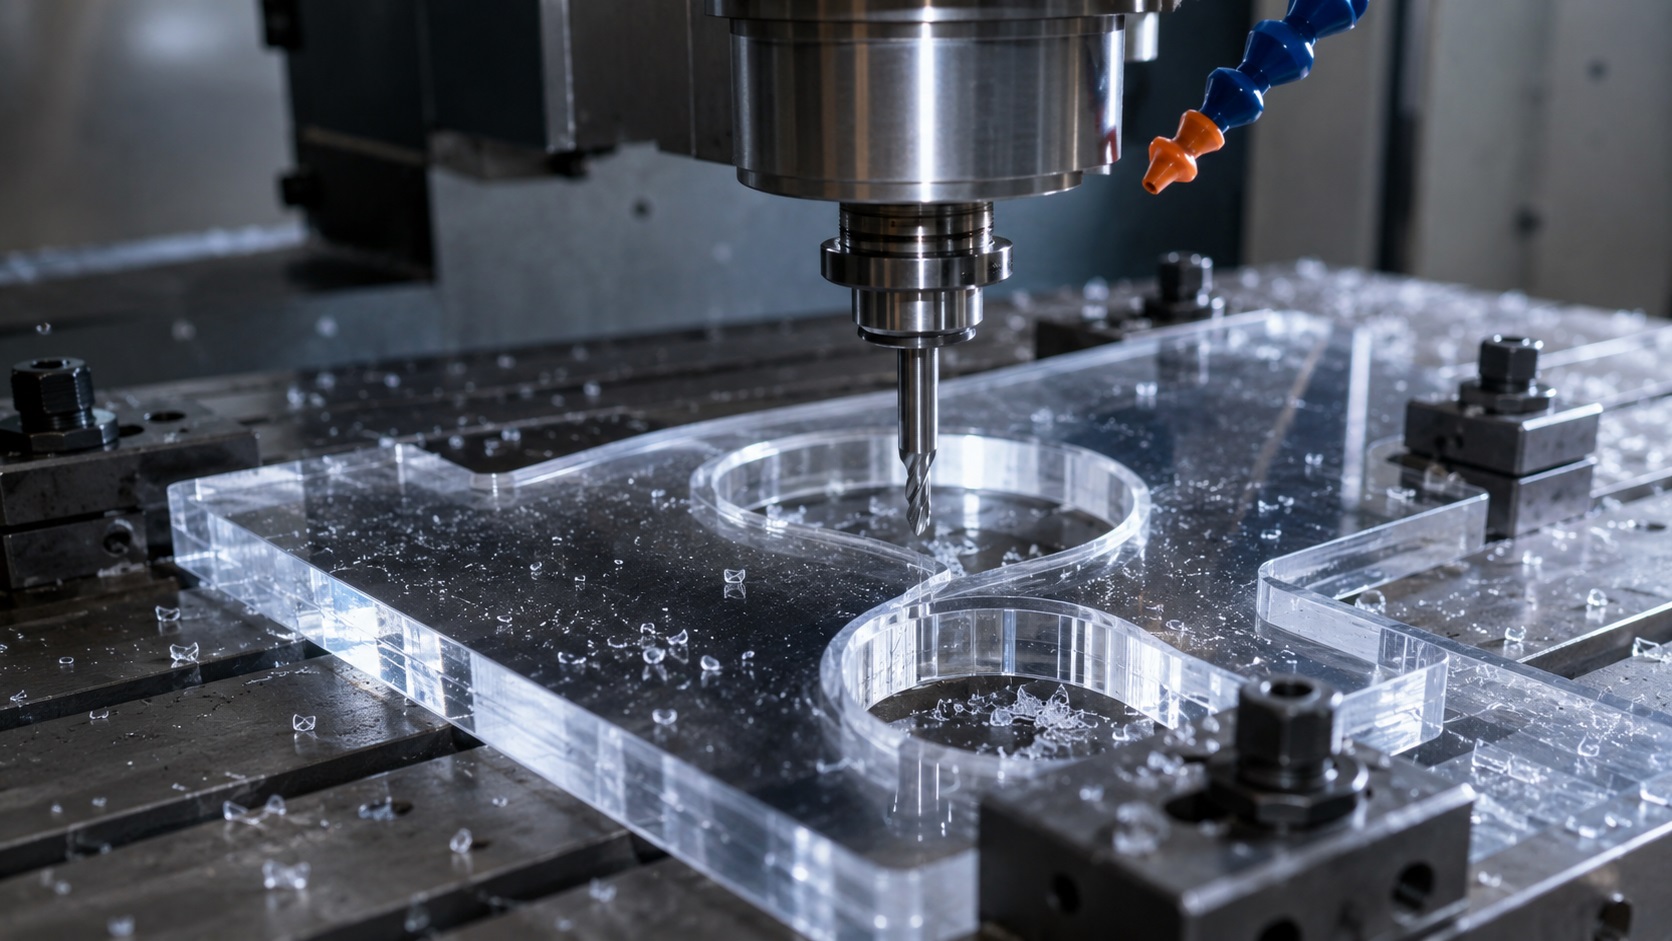
What Actually Matters When Machining Acrylic
Acrylic machining is all about heat control, not cutting force. Use sharp carbide tools, preferably single or low-flute end mills, high feed rates with moderate RPM, and strong chip evacuation. Avoid rubbing at all costs—once acrylic heats up, it melts quickly and ruins surface finish almost instantly.
Real Workshop Intro
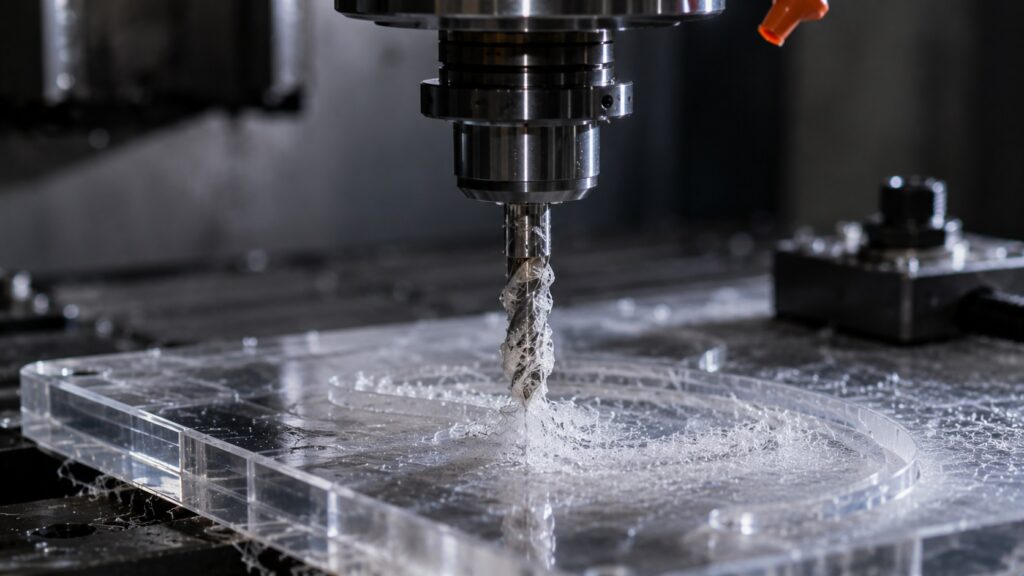
In most job shops, acrylic looks simple until the first bad part comes off the machine: cloudy edges, melted corners, or a cutter wrapped in sticky plastic chips. The usual mistake is treating it like aluminum.
From real workshop experience, acrylic behaves more like a “thermal plastic spring” than a rigid solid. If the chip doesn’t carry heat away fast enough, the material softens mid-cut and starts welding itself back onto the tool.
That is why acrylic is a good example of why CNC machining is not just about moving a cutter through material; the setup, chip load, tool geometry, and heat control all matter at the same time.
That’s where most beginners lose control of the job.
Why Acrylic Melts So Easily During Machining
Acrylic (PMMA) is a thermoplastic polymer with low thermal resistance and relatively brittle fracture behavior.
Key machining behavior:
- Low melting point (~160°C / 320°F surface softening range)
- Poor heat dissipation
- Prone to chip welding and smearing
- Sensitive to tool rubbing
Primary machining challenge: controlling heat in the cutting zone (heat affected zone)
Best End Mills and Cutting Tools for Acrylic
Cutter Selection Matters More Than Machine Power
Acrylic rewards sharpness, not strength.
Best choices:
- Polished carbide end mills
- Single flute or 1–2 flute cutters
- High helix aluminum-style tools
- Dedicated plastic cutters (best surface finish)
Avoid:
- Worn steel cutters
- High flute count tools (unless chip evacuation is excellent)
- Rough, unpolished geometry
Why flute count matters
| Low Flute (1–2) | High Flute (3–4+) |
|---|---|
| Cooler cutting | More heat buildup |
| Better chip evacuation | Risk of chip re-cutting |
| Lower rigidity | Higher rigidity |
| Safer for melting control | Better finish potential if optimized |
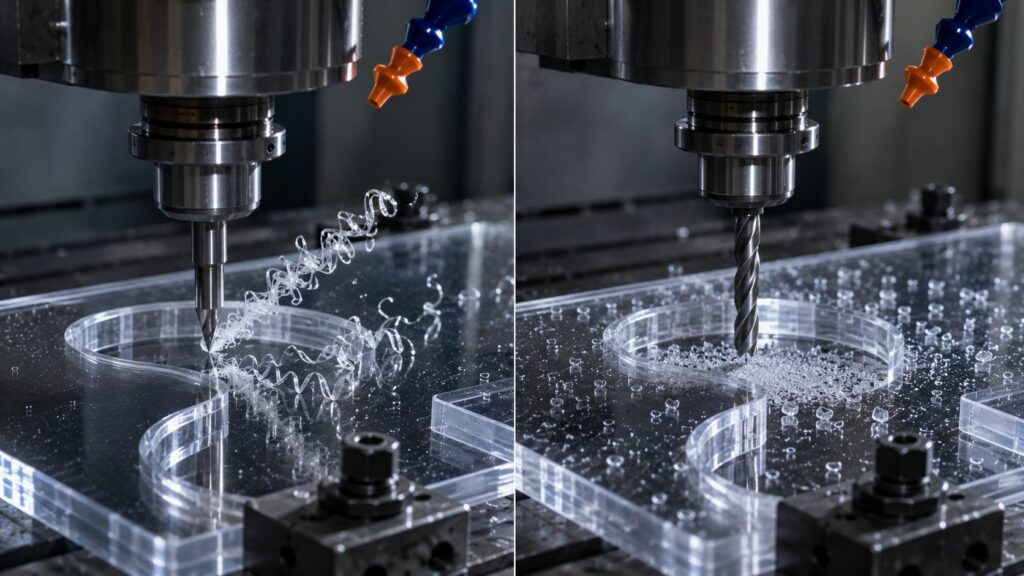
In real shops, single flute cutters often outperform expensive multi-flute tools simply because chips actually leave the cut zone.
Upcut vs Downcut in Acrylic
This is where many beginners go wrong.
Upcut (Most common choice)
- Pulls chips upward
- Best cooling and evacuation
- Risk: lifting thin parts
Downcut
- Presses material downward
- Cleaner top surface
- Risk: heat buildup and chip packing
Workshop rule:
If chip evacuation is not guaranteed → choose upcut
If workholding is weak → consider downcut carefully
Cast vs Extruded Acrylic for CNC Machining
| Cast Acrylic | Extruded Acrylic |
|---|---|
| Machines cleaner | More likely to gum up |
| Better surface finish | More melting issues |
| More dimensionally stable | Softer under heat |
| Better for precision parts | Better for low-cost applications |
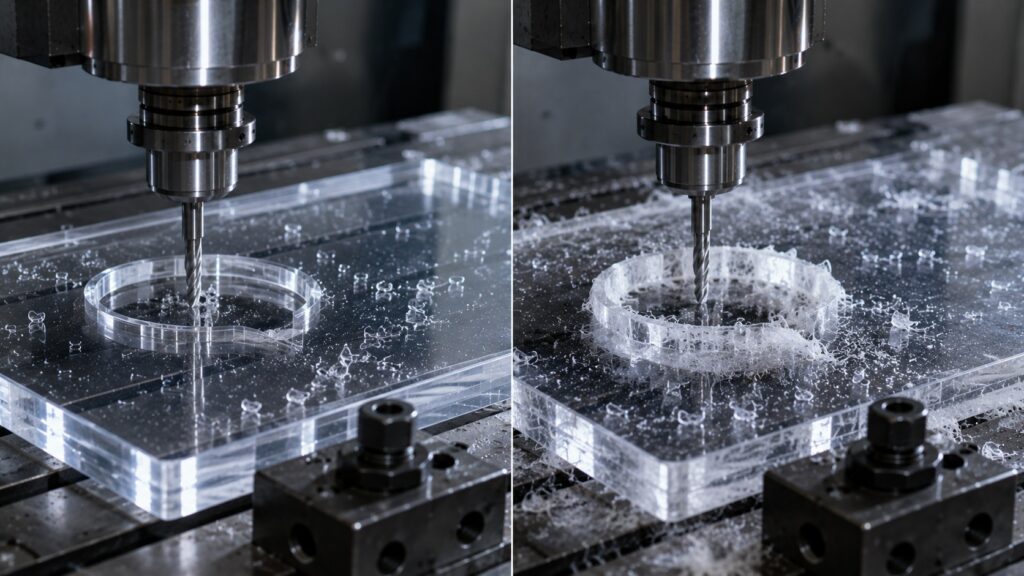
Acrylic Cutting Speeds and Feeds (Realistic Starting Point)
Acrylic doesn’t like slow feed rates. Slow cutting = rubbing = melting.
Example baseline (1/4” carbide end mill):
- RPM: ~8,000–12,000
- Feed: 2–3x aluminum feed rate
- Chip load: ~0.002–0.005″
Practical insight:
In real fabrication shops, operators often reduce RPM slightly but increase feed aggressively to force chips to carry heat away.
If you are still getting comfortable with spindle speed, feed rate, chip load, and basic machine setup, it helps to understand the fundamentals of CNC machining basics before dialing in acrylic-specific settings.
Step-by-Step Acrylic Machining Process
1. Setup and Workholding
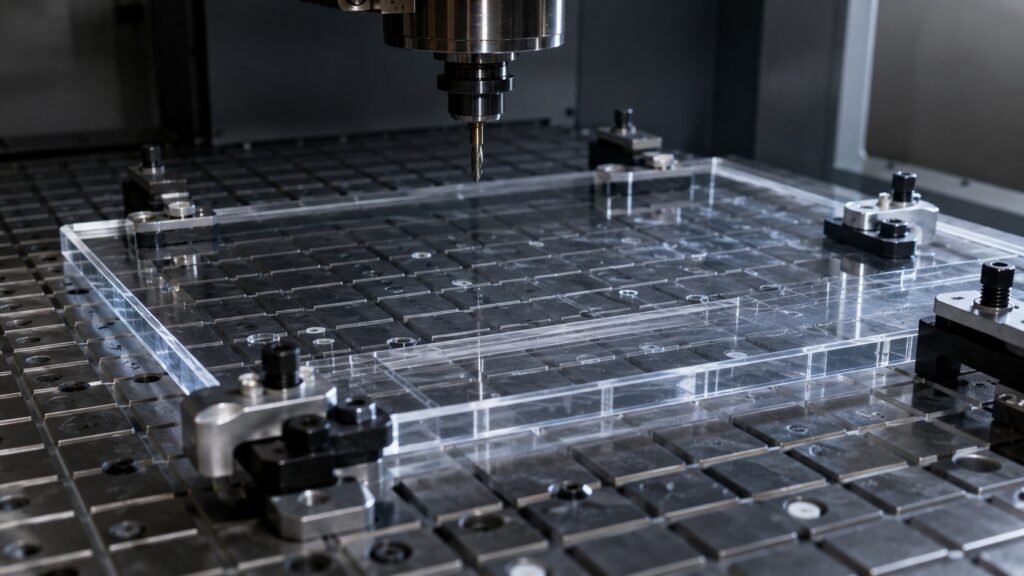
Acrylic cracks under point pressure.
Best methods:
- Vacuum table (ideal)
- Double-sided tape for sheet stock
- Soft jaw clamping with wide contact
Avoid: narrow vise grip on small contact areas
2. Toolpath Strategy
Acrylic hates heat buildup zones.
Best strategies:
- Peel milling (adaptive clearing)
- Shallow stepdowns
- Ramp entry instead of plunging
Bad strategy:
- Deep slotting in one pass
3. Cutting Approach
- Keep chips short and broken
- Avoid long continuous cuts in tight pockets
- Retract periodically if chips accumulate
Why Acrylic Machines Differently Than Aluminum
| Factor | Acrylic | Aluminum |
|---|---|---|
| Heat sensitivity | Extremely high | Moderate |
| Chip behavior | Stringy, sticky | Controlled |
| Tool sharpness need | Critical | Important |
| Feed preference | High feed | Balanced |
| Risk of damage | Melting/cracking | Burr formation |
Common Acrylic Machining Problems and Fixes
| Problem | Cause | Fix |
|---|---|---|
| Cloudy edges | Tool rubbing | Increase feed, sharpen tool |
| Melted chips | Low chip evacuation | Reduce flutes, increase air blast |
| Chipping | Too aggressive engagement | Reduce stepdown |
| Poor finish | Dull cutter | Replace or polish tool |
| Part shifting | Weak fixturing | Increase surface contact |
Common Mistakes (Seen in Real Shops)
- Running acrylic like aluminum
- Using old end mills “just to finish the job”
- Too slow feed rate (biggest mistake)
- Ignoring chip evacuation
- Over-clamping fragile sheet stock
One common workshop reality:
Acrylic will tell you immediately when your setup is wrong—usually by melting itself onto the tool.
Many acrylic failures also start with simple CNC programming errors, such as plunging too aggressively, using the wrong feed rate, leaving poor chip clearance, or programming a toolpath that keeps the cutter buried too long.
Professional Tips from Fabrication Experience
- Air blast is often better than flood coolant for chip clearing
- Polished flute tools dramatically reduce clouding
- Cast acrylic machines cleaner than extruded acrylic
- Use higher feed rates than intuition suggests
- Test coolant compatibility—some emulsions cause crazing over time
- Break chips early, don’t let them “string out”
Common Questions About Machining Acrylic
Can you machine acrylic with a regular end mill?
Yes, but results depend on sharpness. Dull or worn tools will cause melting and poor surface finish.
Why does acrylic melt while machining?
Because heat builds up faster than chips can remove it. Slow feed rates and poor chip evacuation are the main causes.
Is coolant necessary for acrylic machining?
Not always. Air blast is often better because it removes chips without causing chemical reactions or clouding.
What is the best RPM for acrylic?
There is no single value, but moderate RPM with higher feed is preferred to avoid rubbing.
Why does my acrylic crack during machining?
Usually due to stress from clamping or aggressive tool engagement in brittle zones.
What type of acrylic is easiest to machine?
Cast acrylic is significantly easier than extruded acrylic because it produces cleaner chips and less gum buildup.
What Most Shops Eventually Learn About Acrylic
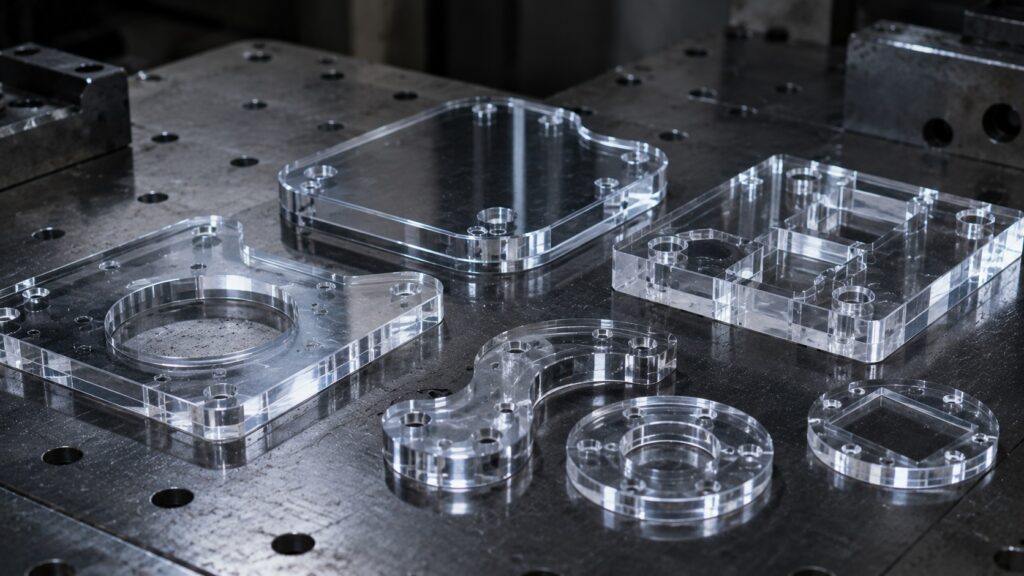
Machining acrylic is less about power and more about control. Once you understand that heat is your enemy—not cutting resistance—you immediately start making cleaner parts. Most issues disappear simply by increasing feed rate, improving chip evacuation, and using sharper tools.
In real fabrication environments, acrylic is one of those materials that rewards confidence in setup and punishes hesitation in feed.